


Imagine going about your day, walking in and out of the bathroom as usual. Then one afternoon, you notice a sour smell but simply shrug it off, right up until a damp patch squelches under your feet.
Suddenly, that decorative addition quickly turns into an unhygienic risk that you must address immediately.
Luckily, the fix isn’t that hard. With the right care, bathroom rugs can stay fresh, clean, and welcoming instead of turning into a hidden culprit for odours.
Assess the Rug Material
Before you even think about scrubbing or soaking, it helps to know exactly what kind of rug you have.
That little tag on the underside usually reveals the material, along with the recommended cleaning instructions. This will help you prevent disasters like warped fibres, faded colours, or unwanted shrinkage.
For example, cotton rugs can go in the washing machine safely, but cold water and a gentle cycle are essential to avoid unwanted shrinkage or stiff fibres.
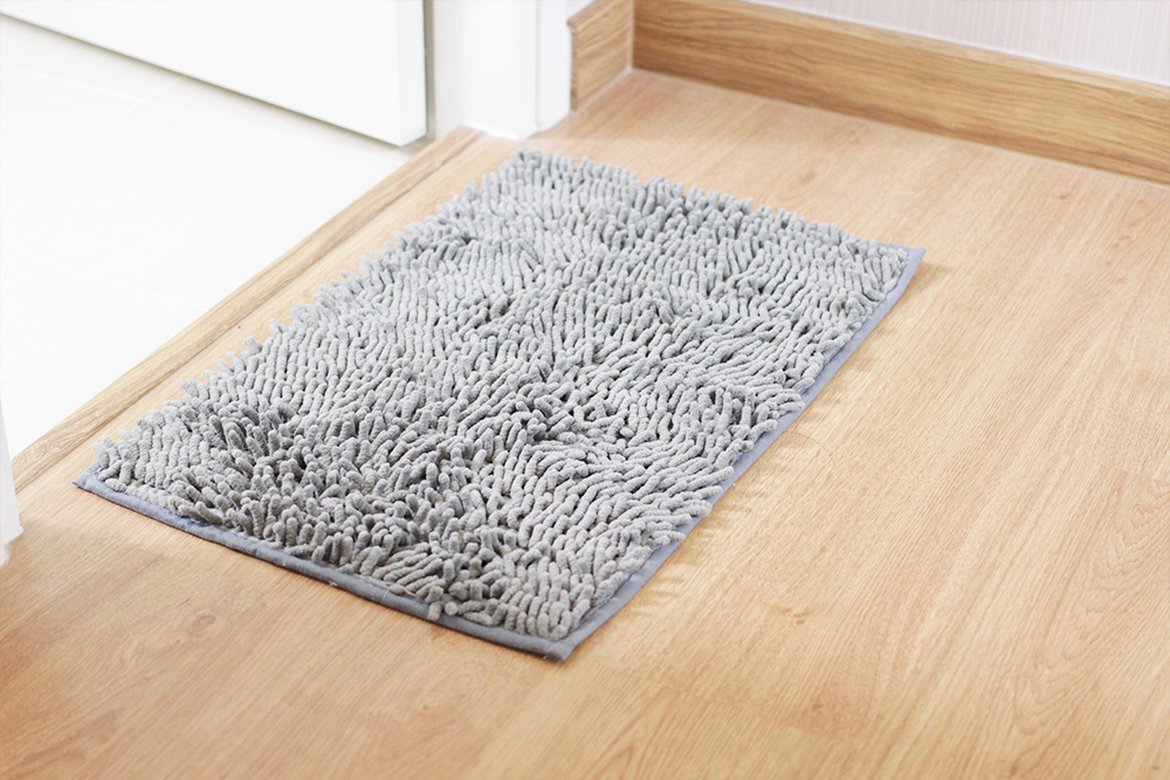
On the other hand, the label on microfibre rugs will tell you that hot water and strong detergent can damage them, so mild soap and lower temperatures are best.
Synthetic rugs are sturdier, but even so, harsh chemicals will still cause fading, particularly on bright colours. If the rug doesn’t have a label, you can still find guidance online or by comparing it to similar rugs.
Whatever method you choose, make sure to test it first on a hidden corner. Some rugs just aren’t built for rough scrubbing, even if the label gives you the green light to do so.
Shake and Vacuum the Rug
Once you know what type of rug you’re dealing with, start by removing the loose dirt and debris. Take the rug outside and give it a good shake. Crumbs, hair, and dust will fall away, clearing the surface before a deeper clean. For thicker or denser rugs, a vacuum is the next step.
Use a vacuum with a brush attachment if you have one, and move slowly, paying attention to the corners and edges. Rushing can miss trapped dirt and may stress the fibres over time.
After vacuuming the top side, take the time to vacuum the underside as well. Dirt and dust can accumulate there, especially in rugs that sit on carpet or tiles, and removing it helps prevent odours and fibre wear.
For dense or high-pile rugs, go over the same spot twice from different angles to lift trapped debris. Small handheld attachments are useful for corners, edges, and folds where the main vacuum can’t reach.
Pre-Treat Stains
Once the loose dirt is gone, it’s time to check for any stains that might have set in. Look carefully at the surface and edges, noting any spots or discolouration before they get worse.
Prepare a mild soap-and-water solution or use a dedicated stain remover if you have one. Apply it gently to the affected area and let it sit for 10–15 minutes, giving the cleaner time to lift the stain.
For more stubborn marks, a soft-bristled brush can help work the solution into the fibres, but take care not to scrub too hard.
Choose the Right Cleaning Method
Once the rug is free of loose dirt and pre-treated for stains, it’s time to decide how to clean it. Smaller rugs that fit comfortably in a machine can be washed on a gentle cycle with a mild detergent. But for larger or more delicate pieces, handwashing is the safer route.
Fill a tub or basin with lukewarm water and a dash of white vinegar or a mild, disinfecting detergent. Submerge the rug carefully, making sure it’s fully soaked, and gently move it around to work the cleaner through the fibres.
Next, let it sit long enough to lift dirt and grime, then rinse thoroughly until the water runs clear.
Avoid bleach entirely. While it might seem like a quick fix, it can damage fibres and fade colours. After cleaning, squeeze out excess water without wringing aggressively, then move on to drying.
If your rugs still smell musty, even after trying these methods, professional cleaning services can step in. They have the proper equipment to tackle dirt and odours at the source, and they’re a real help when your schedule doesn’t leave room for a proper rug clean.
Dry the Rug Properly
After cleaning, the rug still isn’t done. If you can, lay it in the sun for a while. Light helps kill what you can’t see and leaves it smelling fresh. Tumble dryers are risky unless the label says it’s okay. Remember that too much heat can shrink or warp the fibres.
If you can’t dry it outside, lay it flat somewhere with good airflow. Flip it halfway through so both sides get aired out. Make sure it’s completely dry, as any lingering dampness can quickly turn into mildew, undoing all the work you just did.
Disinfect Regularly
Even a clean-looking rug can harbour germs in a damp bathroom. A quick spray of a fabric-safe disinfectant can make a noticeable difference, especially in spots where moisture and foot traffic meet most often.
Let the spray dry completely before walking on it again, and repeat every few weeks. You can also combine disinfecting with regular shaking or vacuuming to remove surface debris first, so the spray reaches the fibres more effectively.
Store Rugs Properly When Not in Use
When it’s time to put a rug away, rolling it up is better than folding—it prevents creases and bent fibres. Find a cool, dry spot and consider adding a few moisture-absorbing packets for extra protection.
Even after storing, it’s worth checking in now and then. Any leftover dampness can turn into mildew before you notice it. A quick peek keeps the rug ready to lay out again, fresh and clean, without any surprises.
Conclusion
Congratulations! Just by making it this far, you’ve taken the first step toward bathroom rugs that actually stay clean and fresh. Keep an eye on those rugs, and every time you step out of the shower, you’ll notice the difference.
Now, put these tips to work and see how much better your bathroom can feel.