Over time, the grout between your floor tiles can become discoloured, cracked, or start to crumble away. This not only detracts from the overall aesthetic of your home but can also lead to more serious issues such as water damage. The solution? Regrouting. In this blog post, we will guide you through the process of regrouting floor tiles. However, if you’re not a DIY enthusiast or simply don’t have the time, hiring professional tilers like GIB Tiling Perth could be your best option.
What is Grouting and Regrouting
Grouting is the process of filling in the spaces between tiles with a dense fluid known as grout. This is an essential part of tiling as it helps to secure the tiles in place and prevent water from seeping underneath them. Over time, grout can deteriorate due to factors such as wear and tear, moisture exposure, and cleaning products.
Regrouting is essentially removing the old grout and replacing it with new ones. It’s a great way to refresh your tiled surfaces without having to replace all the tiles. Perth, Australia is not immune to the wear and tear of grout. So make sure that your Perth regrouting is done periodically by a professional.
Preparing for Regrouting
Before you start regrouting your floor tiles, there are a few things you need to do:
- Clean Your Tiles: Start by giving your tiles a thorough clean. This will help you see any areas where the grout is particularly damaged and needs extra attention.
- Choose Your Grout: There are different types of grout available on the market – cement-based grouts are most commonly used for floor tiling due to their durability.
- Gather Your Tools: You’ll need a few specific tools for regrouting including a grout saw or utility knife for removing old grout, a float for applying new grout, and sponges for cleaning up excess.
The Regrouting Process
Now that you’re prepared, it’s time to get started with the regrouting process.
- Remove Old Grout: Using your grout saw or utility knife, carefully scrape away the old grout from between your tiles. Be careful not to damage your tiles in the process.
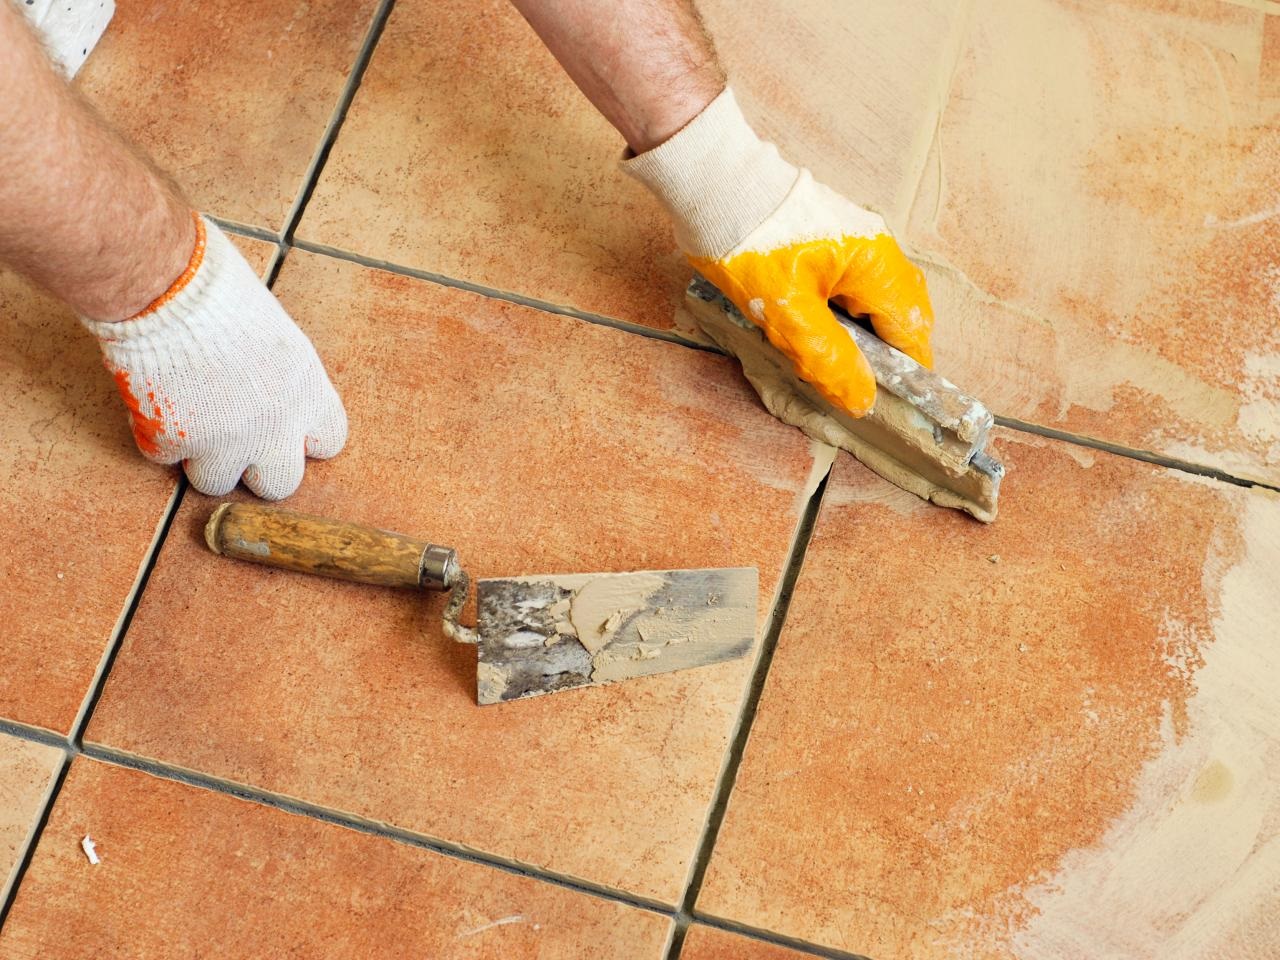
- Apply New Grout: Mix your chosen grout according to the manufacturer’s instructions. Using a float, apply the grout diagonally across the tiles, making sure it fills all gaps evenly.
- Clean Up: Wait for about 15-30 minutes for the grout to start setting, then use a damp sponge to clean off any excess from the surface of your tiles.
- Seal Your Grout: After allowing your new grout to cure for at least 24 hours, apply a sealant to protect it from moisture and stains.
Hiring Professional Tilers
While regrouting is a task that many homeowners can tackle themselves with a little patience and elbow grease, there are times when hiring professional tilers might be more beneficial. For instance, if you have a large area to regrout or if your tiles are particularly delicate or expensive, you might want to consider tiler hire. Who can regrout for you?
Professional tilers like GIB Tiling Perth have extensive experience in all aspects of tiling and regrouting. They can ensure that the job is done efficiently and correctly, saving you time and potential frustration. Plus, local tilers often have access to high-quality materials and tools that can result in a better finish than DIY efforts.
Conclusion
Regrouting floor tiles can breathe new life into your home’s flooring without requiring a complete overhaul. Whether you choose to tackle this project yourself or hire local tilers like GIB Tiling Perth, understanding what goes into regrouting can help ensure a successful outcome.
Remember that while DIY projects can be rewarding and cost-effective, there are times when hiring grouting professionals can be a wise investment. So, whether you’re a seasoned DIY enthusiast or prefer to leave it to the pros, regrouting your floor tiles can help maintain the beauty and integrity of your home’s flooring.


